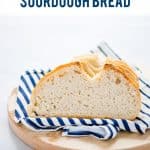
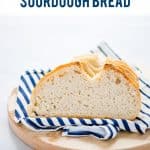
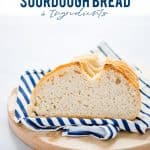
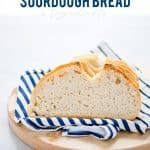
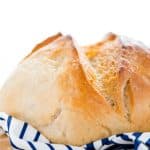
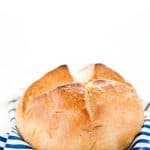
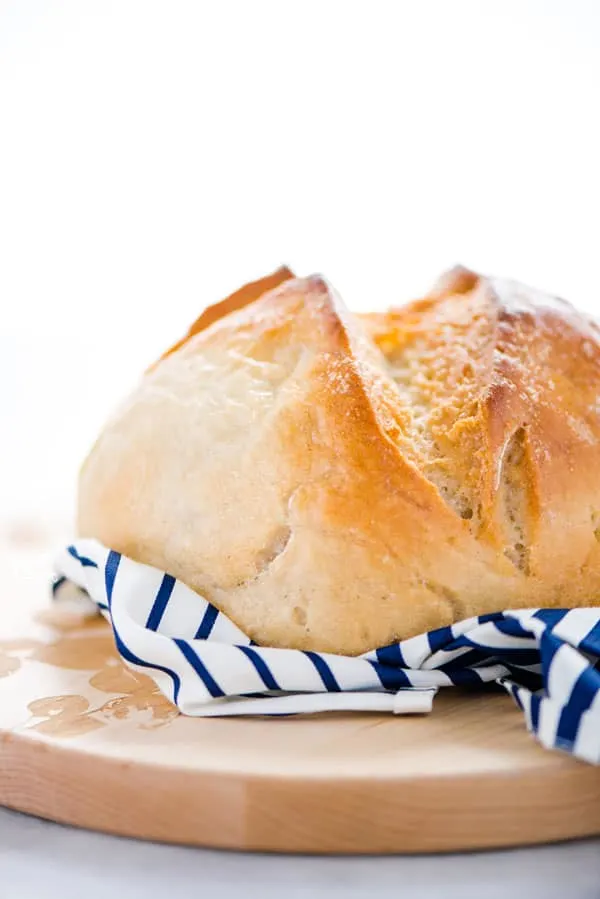
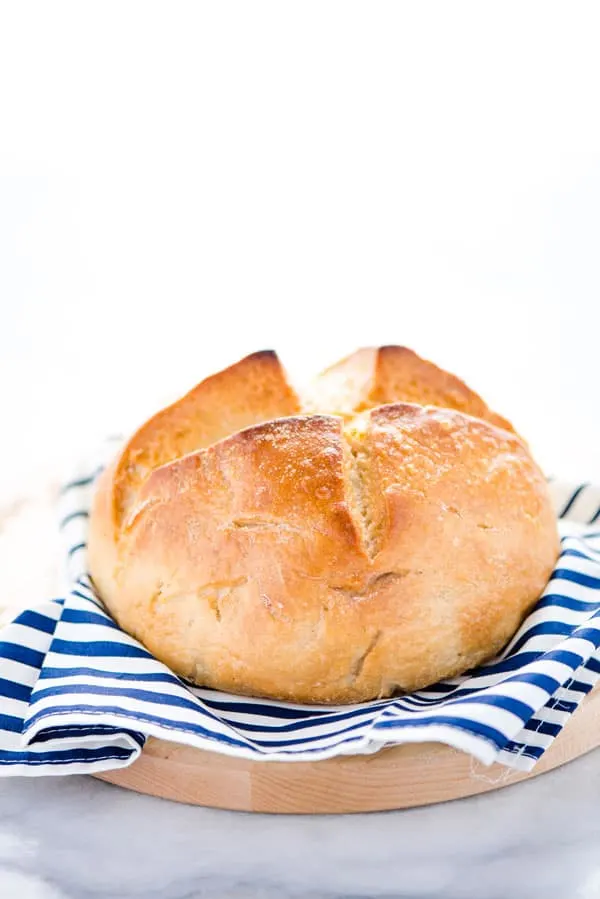
This 4-Ingredient Gluten Free Sourdough Bread recipe is perfect start with if you’re new to sourdough bread baking. It’s easy to make with clear directions and a written baking schedule.
This post contains affiliate links for products and ingredients I use and love. You can read my full disclosure here. Thank you for supporting What The Fork Food Blog so I can continue to provide you with free gluten free recipes ♥
Making sourdough bread doesn’t have to be intimidating. I’ve streamlined the process to make it easier and approachable.
Instead of using a long list of ingredients, I’ve narrowed it down to just 4 ingredients with a popular 1:1 gluten free flour blend as the main ingredient in both the bread and the sourdough starter. This is a basic sourdough bread recipe and I’m not exaggerating because 4 ingredients is a basic as you can get, even with traditional sourdough bread made with wheat flour.
Just 4 ingredients and one of them is the gluten free sourdough starter – which is just flour and water. Since flour and water are also ingredients in the bread, you can technically say this bread is really only 3 ingredients.
Like traditional sourdough bread, this recipe doesn’t call for commercial yeast. It relies on the wild yeast and good bacteria that we cultivated in our sourdough starter to leaven the bread. It’s a good old fashioned science experiment, my friends!
It’s back to the basics with this one and is as close to mimicking traditional sourdough bread as you can get. Thanks to using a 1:1 gluten free flour blend (that contains xanthan gum), you don’t have to mix your own combination of flours or experiment with binders like psyllium husk, psyllium powder, or flax meal.
If you’re just starting out in the world of gluten free sourdough bread baking, I highly suggest starting with this recipe. The gluten free sourdough start I used in this recipe is made with the same 1:1 gluten free flour blend that I use in the bread. Because the starter has xanthan gum in it, I suggest following the recipe exactly before experimenting with different starters and hydration percentages.
Did you make this recipe? Leave a star rating and let me know in the comments! You can also leave a photo/comment on this pin for others to see.
Is Sourdough Bread Gluten Free?
A frequently asked question I see a lot in gluten free Facebook groups is, “Is sourdough gluten free?”. The answer is simple – yes, if it’s made with gluten free flour and a gluten free sourdough starter.
Sourdough bread made with regular wheat flour or a wheat-based sourdough starter is not gluten free.
Some who are sensitive to gluten or gluten intolerant are able to eat wheat-based sourdough and they can digest it without issue but regular sourdough bread is not safe for those with Celiac Disease.
As an Amazon Associate I earn from qualifying purchases.
Key Ingredients for a 4-Ingredient Gluten Free Sourdough Bread
- Gluten Free Flour – for this recipe, I use Bob’s Red Mill 1:1 Gluten Free Baking Flour which contains xanthan gum. If you use a different flour blend, make sure it already has xanthan gum in it. I haven’t tested this recipe with other flours so I can’t guarantee the same results.
- Water – bottled/filtered water is best. I use tap water from a well and it works fine because it’s not chemically treated. If you have city water, you’ll have to boil it and cool it to room temperature before using.
- Salt – I use fine sea salt
- Gluten Free Sourdough Starter – the sourdough bread starter I used for this recipe is made with Bob’s Red Mill 1:1 Gluten Free Baking Flour.
Equipment Needed to Make Homemade Sourdough Bread
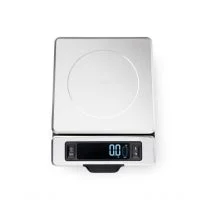
- Digital Kitchen Scale – I measure all the ingredients for this recipe by weight so a Digital Kitchen Scale is necessary.
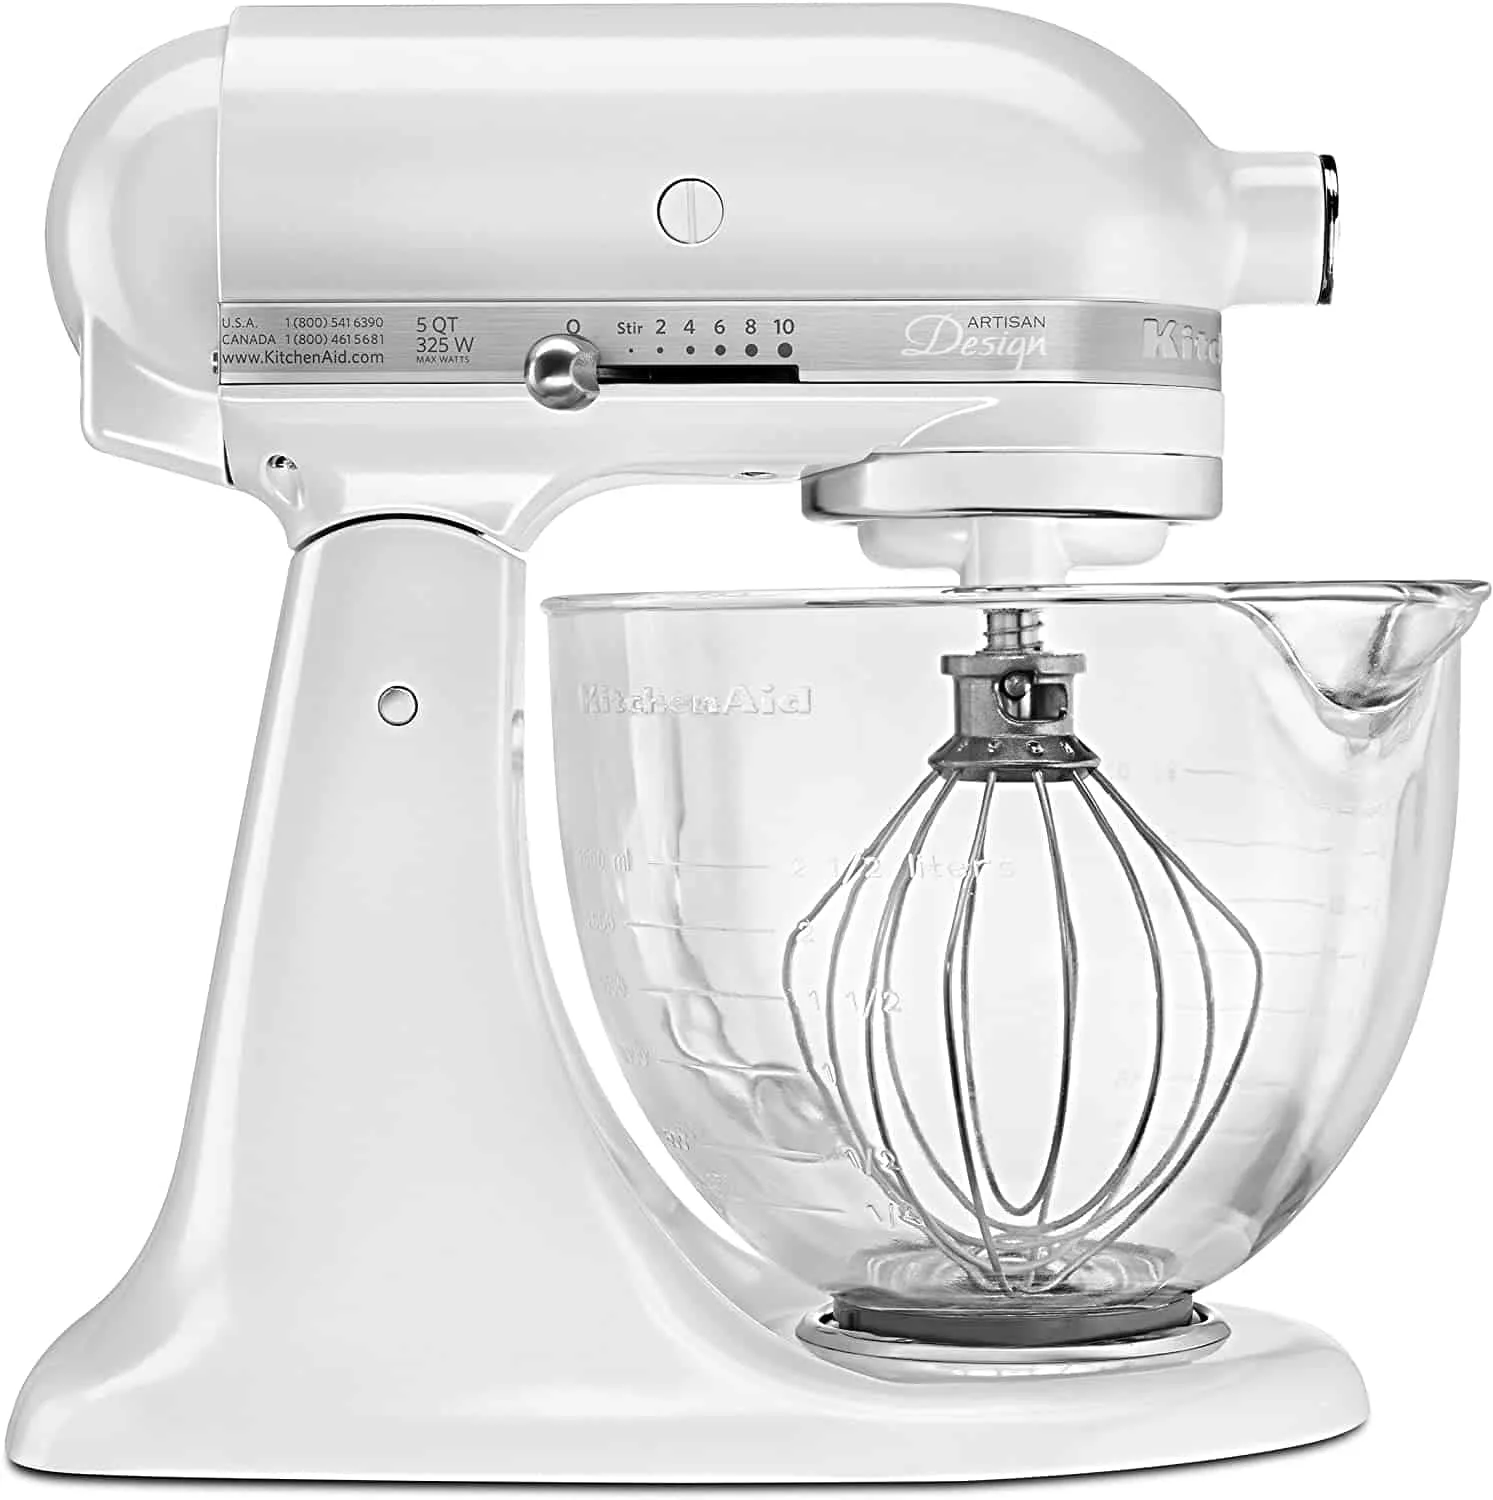
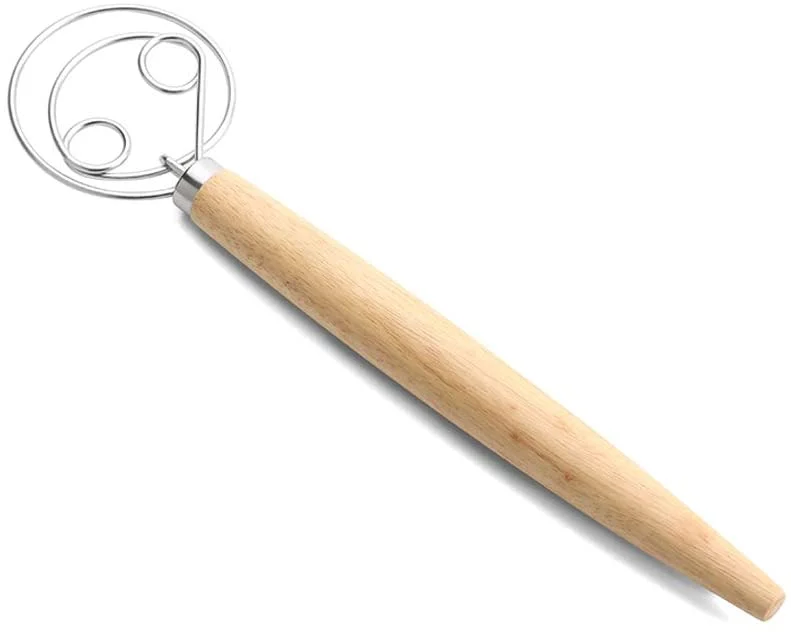
- Stand Mixer with Dough Hook or a Danish Dough Whisk – A KitchenAid Stand Mixer makes a quick and easy job of mixing up the dough. However, this recipe can be mixed by hand with a wooden spoon or a Danish Dough Whisk.
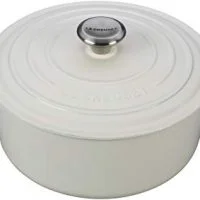
- Dutch Oven – this recipe is best when baked in a 5.5 Quart Dutch Oven. However, if necessary, you can bake this in a cast-iron skillet with aluminum foil in place of the lid. A loaf baked in cast iron will have a much darker and thicker/tougher crust.
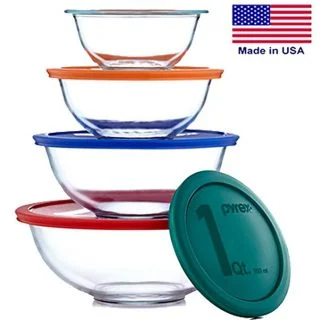
- Glass Bowl or Banneton Basket – I use the largest bowl from this Pyrex set to proof my breads and loosely cover it. It’s the perfect size and glass is a non-reactive material. Ceramic would also be ok to use but don’t use a metal bowl.
How to Make Sourdough Bread with Gluten-Free Flour
Day 1 (Around 12 pm)
Make the dough: Add the un-fed starter, gluten-free flour, water, and salt to the bowl of a stand mixer. Use the dough hook to mix until all ingredients are combined, the dough comes together, and there isn’t any loose flour left.
Bulk Fermentation: Gently form the dough into a ball and place in a lightly oiled and floured medium glass bowl. Loosely cover and leave in a draft-free place for 6-10 hours. 6 hours if your house is on the warm side and up to 10 hours if your house is cooler. I generally let mine rise for about 8 hours. At this point, you don’t want your dough to double in size.
2nd Proof/Retard (around 8pm): After the first rise, transfer the bowl to the refrigerator to finish proofing in the refrigerator for 12 hours. You can keep the dough in the same bowl or you can gently reshape it and place it in a floured Banneton Basket.
Day 2 (Around 8 am)
- Place your Dutch Oven on the center rack and preheat the oven to 500 degrees. Let the Dutch Oven preheat at 500 degrees for at least 30 minutes.
- When the Dutch Oven has preheated, remove from the dough from the refrigerator. Turn the dough out onto a piece of lightly floured parchment paper.
- With generously floured hands, gently re-shape to a tighter ball and use the flour to smooth the dough. The dough should be completely coated with a layer of flour. (Skip this if you proofed in a Banneton Basket)
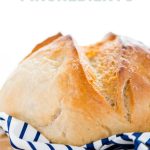
- Use a sharp knife or bread lame to slash the bread, you want the slash to be at least 1-inch deep. You can make it decorative or keep it simple to start and just do an X in the middle.
- Remove the Dutch Oven from the preheated oven. Use the corners of the parchment paper to lift the dough and carefully place it in the Dutch Oven so you don’t burn yourself. Place 2 large ice cubes in the Dutch Oven between the parchment paper and sides of the DO and quickly cover with the lid.
- Place the Dutch Oven back on the center rack and lower the temperature to 450 degrees. Bake at 450 for 40 minutes.
- After 40 minutes lower the oven temperature to 425 degrees and then remove the lid from the Dutch Oven. Bake for an additional 40 minutes, uncovered, at 425 degrees.
- When the bread is done, it should have an internal temperature of at least 210 degrees and the bottom of the bread should sound hollow when you knock on it. Cool completely on a wire rack before slicing and serving.
(printer-friendly version below)
Tips for Making 4 Ingredient Sourdough Bread
- Follow the recipe. Please make this recipe as written before trying to change anything.
- Use a digital kitchen scale. It makes all the difference when baking gluten-free bread.
- Use a mature sourdough starter. For best results, your sourdough starter should be at least 2 weeks old. For even better results, your starter should be at least a month.
- Your bread will rise higher and the sour flavor will intensify as your starter ages.
- Proof your dough in a medium-sized bowl. A large bowl with a wide bottom will make your dough “rise” by spreading out in the bottom of the bowl vs. rising higher.
- Make sure your bread bakes all the way through. Your bread is done when it’s at least 210 degrees F.
- Bake your bread to 15% loss in weight. Somebody gave me this tip when I was trying to reduce the gumminess and with this baking method, I’ve been able to achieve this. I weigh my loaf before baking (after dusting with flour) and before putting in the Dutch Oven so I know how much it should weigh when it’s done.
- Cool the bread completely before slicing. I can’t stress this enough. For the best texture and to reduce gumminess, your bread needs to cool all the way through the center. You should let it cool at least 6 hours before slicing and overnight is best.
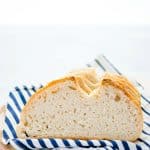
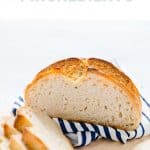
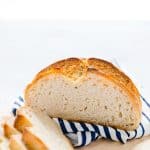
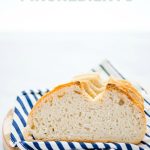
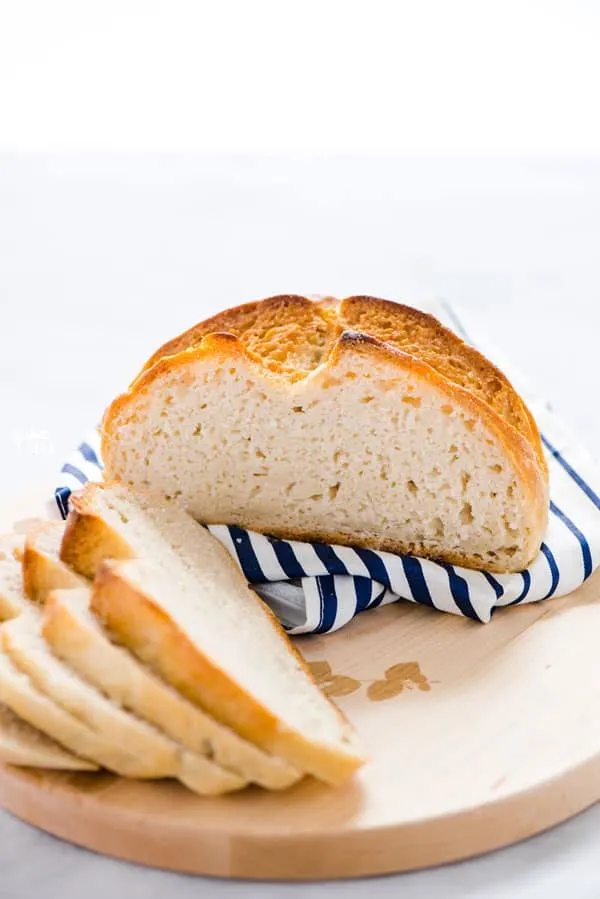
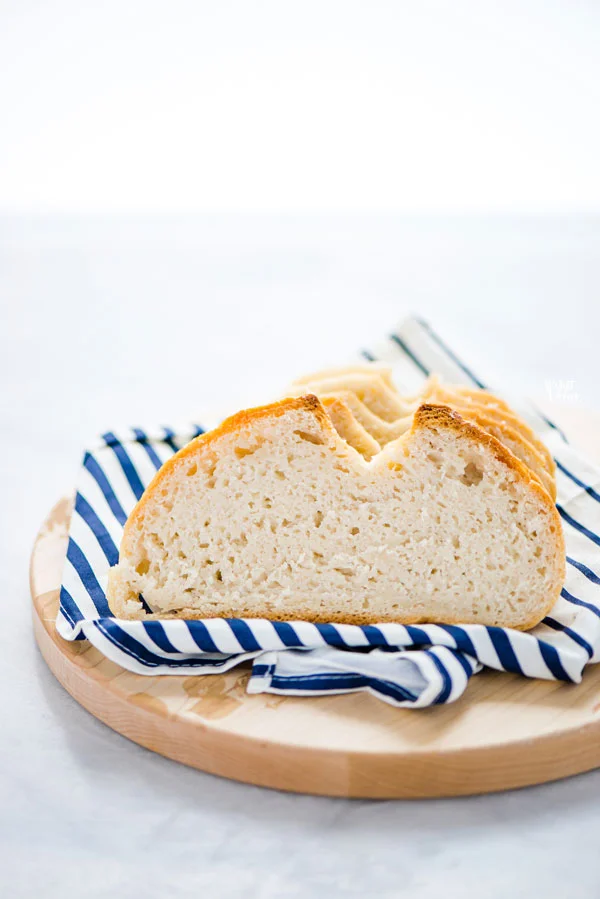
- Due to the nature of the 1:1 flour used in this recipe, the resulting bread is slightly dense with a tighter crumb. It tends to be on the gummy side at room temperature and will be sticky to the touch. It’s very similar in texture to the leading Gluten-Free Sourdough Bread on the market, Bread Srsly.
- For the best flavor and texture, please toast this bread before eating 🙂
Other Sourdough Recipe Ideas To Try
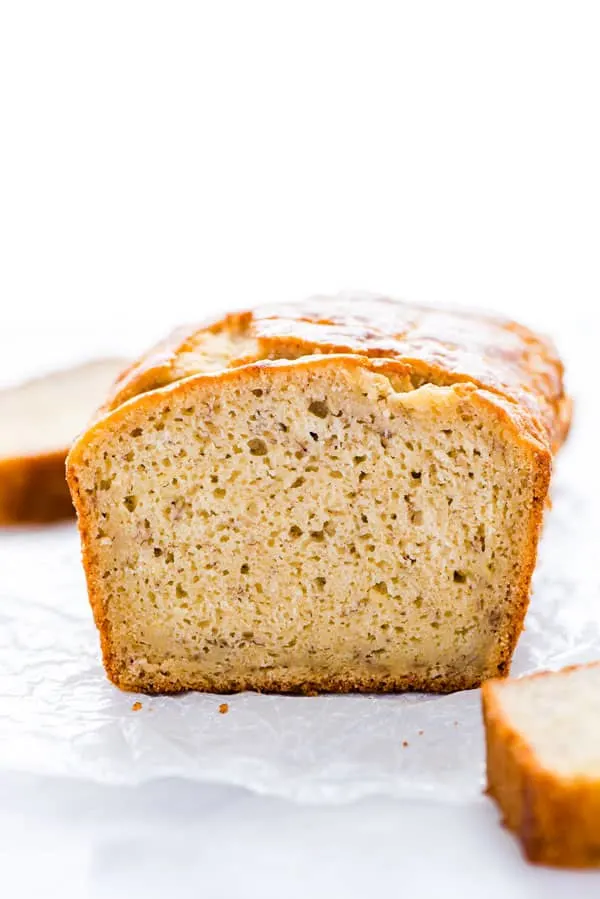
- Sourdough Banana Bread
- Gluten Free Sourdough Cornbread – coming soon
- Sourdough Chocolate Chip Cookies
- Gluten Free Sourdough Chocolate Cake – coming soon
Be sure to follow me on Instagram and hashtag #whattheforkfoodblog or tag @whattheforkfoodblog – I love seeing what you make!
If you love this 4-Ingredient Gluten Free Sourdough Bread Recipe, be sure to follow me on social media so you never miss a post:
| Facebook | Twitter | Pinterest | Instagram | Youtube | Newsletter |
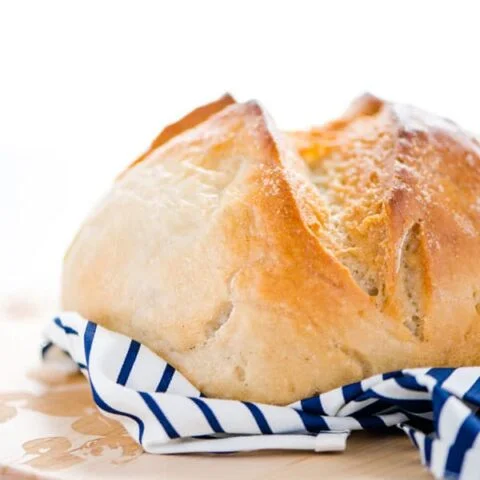
4-Ingredient Gluten Free Sourdough Bread Recipe
This 4-Ingredient Gluten Free Sourdough Bread recipe is perfect start with if you’re new to sourdough bread baking. It’s easy to make with clear directions and a written baking schedule.
Ingredients
- 200 grams un-fed Gluten-Free Sourdough Starter (see notes)
- 420 grams Bob's Red Mill 1:1 Gluten-Free Baking Flour (see note 10)
- 300 grams bottled water, cold or room temperature
- 12 grams fine sea salt
Instructions
Day 1 (Around 12 pm)
Make the dough: Add the un-fed starter, gluten-free flour, water, and salt to the bowl of a stand mixer. Use the dough hook to mix until all ingredients are combined, the dough comes together, and there isn't any loose flour left.
Bulk Fermentation: Gently form the dough into a ball and place in a lightly oiled and floured medium glass bowl. Loosely cover and leave in a draft-free place for 6-10 hours. 6 hours if your house is on the warm side and up to 10 hours if your house is cooler. I generally let mine rise for about 8 hours. At this point, you don't want your dough to double in size.
2nd Proof/Retard (around 8pm): After the first rise, transfer the bowl to the refrigerator to finish proofing in the refrigerator for 12 hours. You can keep the dough in the same bowl or you can gently reshape it and place it in a floured Banneton Basket.
Day 2 (Around 8 am)
Place your Dutch Oven on the center rack and preheat the oven to 500 degrees. Let the Dutch Oven preheat at 500 degrees for at least 30 minutes.
When the Dutch Oven has preheated, remove from the dough from the refrigerator. Turn the dough out onto a piece of lightly floured parchment paper.
With generously floured hands, gently re-shape to a tighter ball and use the flour to smooth the dough. The dough should be completely coated with a layer of flour. (Skip this if you proofed in a Banneton Basket)
Use a sharp knife or bread lame to slash the bread, you want the slash to be at least 1-inch deep. You can make it decorative or keep it simple to start and just do an X in the middle.
Remove the Dutch Oven from the preheated oven. Use the corners of the parchment paper to lift the dough and carefully place it in the Dutch Oven so you don't burn yourself. Place 2 large ice cubes in the Dutch Oven between the parchment paper and sides of the DO and quickly cover with the lid.
Place the Dutch Oven back on the center rack and lower the temperature to 450 degrees. Bake at 450 for 40 minutes.
After 40 minutes lower the oven temperature to 425 degrees and then remove the lid from the Dutch Oven. Bake for an additional 40 minutes, uncovered, at 425 degrees.
When the bread is done, it should have an internal temperature of at least 210 degrees and the bottom of the bread should sound hollow when you knock on it. Cool completely on a wire rack before slicing and serving.
Notes
- The sourdough starter used and tested in this recipe is made with Bob's Red Mill 1:1 Gluten-Free Baking Flour. It's a 100% hydration starter, which means it's made with equal parts flour and water.
- The flour blend I use contains xanthan gum. For best results use the flour listed in the recipe or another high-quality gluten-free flour blend that already contains xanthan gum.
- Tap water can be subbed as long as it hasn't been chemically treated. Chlorine will kill the active cultures and wild yeast.
- This dough can be mixed by hand if you don't have a stand mixer. I use a Danish Dough Whisk to mix it.
- The sourdough bread process is not the same as traditional sourdough bread made with wheat flour. There's no stretching or folding of the dough during the bulk fermentation. With gluten-free dough, the bulk fermentation is just the first rise.
- I finish proofing the dough in the refrigerator, sometimes referred to as Retard. It slows down the rise and helps prevent over-proofing your dough.
- I use a 5.5 quart Dutch Oven to bake this bread. If you don't have a Dutch Oven, you can use a cast-iron skillet and cover the bread with aluminum foil for the 1st half of the baking process. Be careful not to burn yourself when covering with foil.
- It's important to cool the bread completely before slicing.
- This bread is best served toasted. Think toast for breakfast, garlic bread, etc.
- To make this bread with a flour blend that doesn't contain xanthan gum, mix 15g whole Psyllium Husk with the water and let it sit until it gels. Then mix the ingredients and follow the directions as indicated.
Recommended Products
As an Amazon Associate and member of other affiliate programs, I earn from qualifying purchases.
Nutrition Information:
Yield: 10Amount Per Serving:Calories: 189
Nutrition Facts are estimated and aren't always accurate. Please consult a doctor or nutritionist if you have special dietary needs. Calories based on 10 servings.
Did you make this gluten free sourdough recipe? Leave a star rating and let me know in the comments! You can also leave a photo/comment on this pin for others to see.










Yvette
Friday 25th of March 2022
Hi - I am a little confused on the starter part. Is this just saying add another 100 grams of flour and 100 grams of water to the flour and water that follows? What makes it a starter? Want to try this. Thanks!
Julia
Sunday 20th of March 2022
There are various Bob’s Red Mill GF baking flours. The one I purchased does not list xanthum gum as an ingredient and the note on the package recommends adding it. Which Bob’s GF all-purpose package do you use? (Photo?) also where does one buy xanthum gum? What section is it in? Do I need to go to a health food store for that? THANK YOU!!!
Sylvie
Monday 14th of March 2022
Hi! I’ve made this recipe 3 times so far and we really enjoy this bread. The first time I made it, the bread stayed in a nice boule shape. The other 2 times, it flattened a bit as it was cooling. What am I doing wrong??
Alex
Sunday 6th of March 2022
If I were to buy starter from Thrive market or somewhere else would the recipe still work?
Shay
Friday 18th of March 2022
If you buy a starter, it should have directions included with it.
Brittany
Sunday 6th of March 2022
This bread recipe was super easy to follow and almost came out perfect…. The only thing that was a little off was that it was very moist on the inside almost as if it wasn’t fully cooked. Do you know what could have caused this? Id love to keep using this recipe but want to make sure i get it right on my end. Admittedly I did not do a full 12grams of salt because it seemed like so much, perhaps that was my problem? Thanks so much!